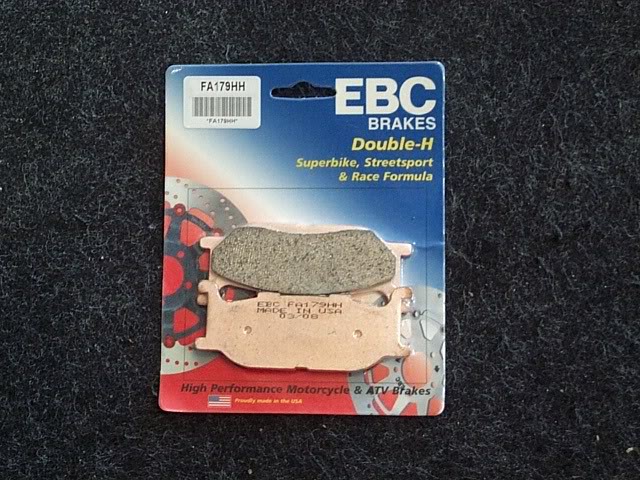
This is a product review and install for EBC Double H front brake pads. These are the super high grade pads, that boast less dust, longer life, and killer grip.
|
 |
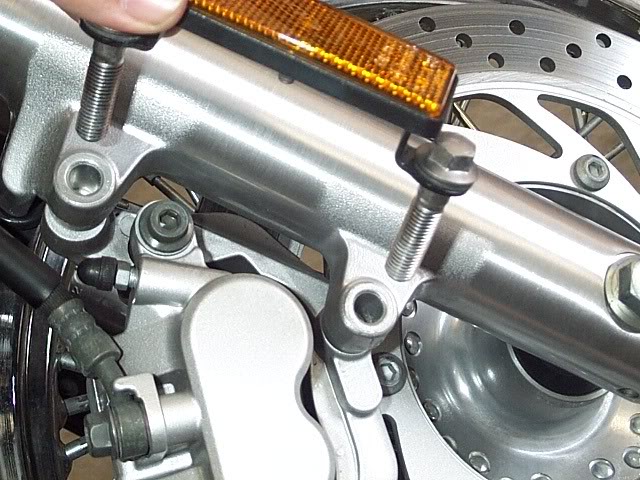
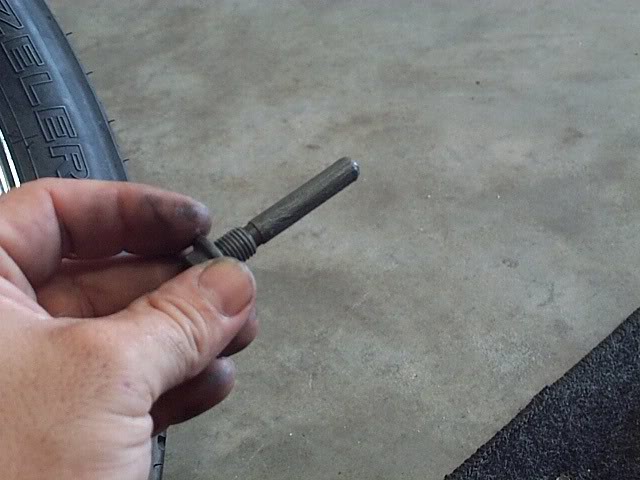
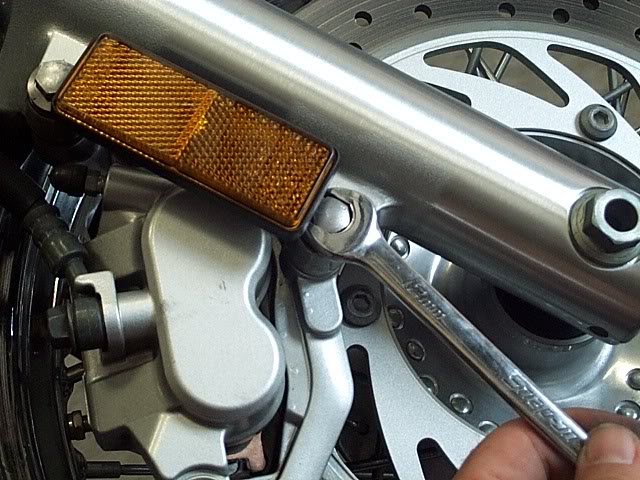
First, you need to remove the two bolts that hold on the reflector. These bolts ALSO hold on the entire caliper/mount assembly to the fork leg. Remove the two 12mm bolts. You really can't get to them with a socket because the reflector is in the way. Make sure you use a GOOD quality wrench so you don't round the bolts. If you have removed your reflectors previously, you don't need to remove these two bolts. |
 |
Remove the reflector and bolts. |
 |
Remove the bolts from the reflector, and loosely reinstall them. |
 |
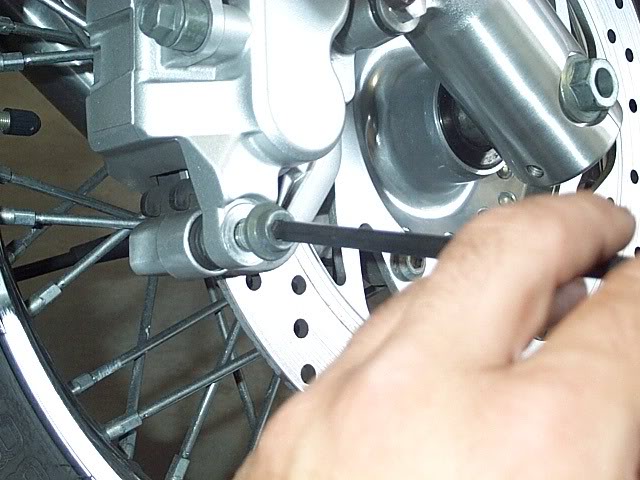
Now remove the two 6mm allen bolts that hold the caliper to the mount. |
 |
Pull the caliper off and remove the old pads. |
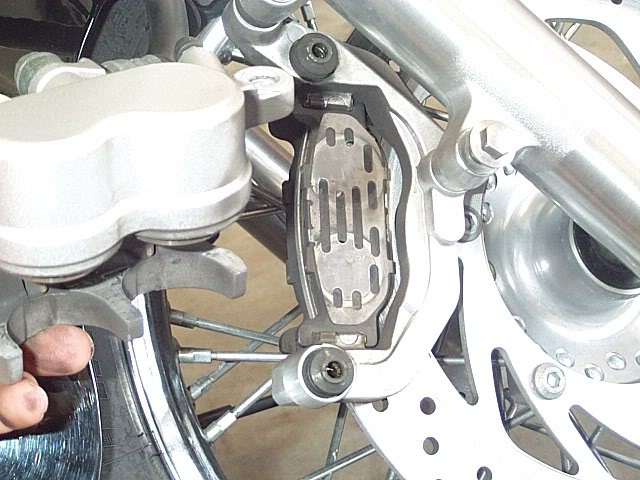 |
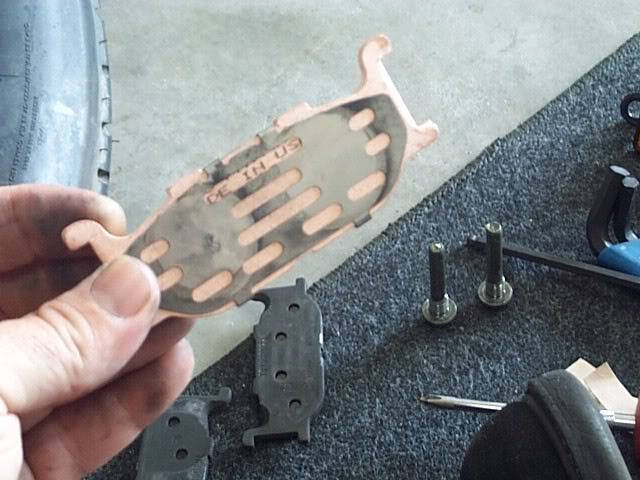
Swap the one noise shield over to the new pad.
|
< |
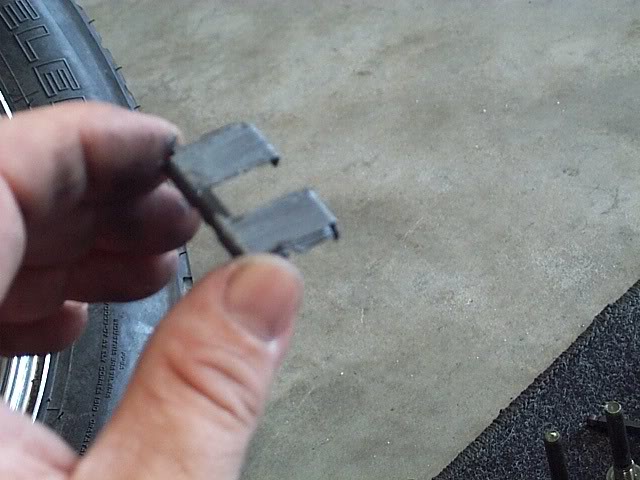
Remove the upper and lower slider shields from the caliper mount. Clean them, and then lube them with either caliper slide lube or anti-seize. Do not use white lube. Make sure you don't overload the lube, you don't want it getting on the rotor. Snap them back into place and then install the new pads. |
< |
Since the new pads will be thicker than what you are replacing, you need to compress the caliper pistons back in a bit. The easiest way to do this is to put one of the old pads back in, and gently squeeze with big channelocks. If you don't have a tool that big, just improvise. It doesn't take much pressure really. |
<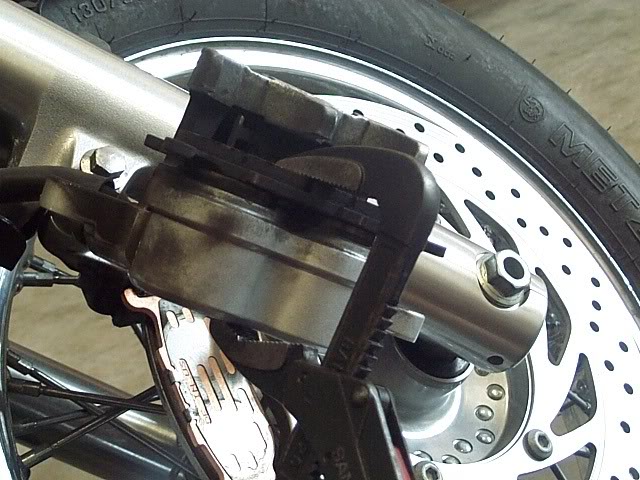 |
Slide the caliper back in place. |
<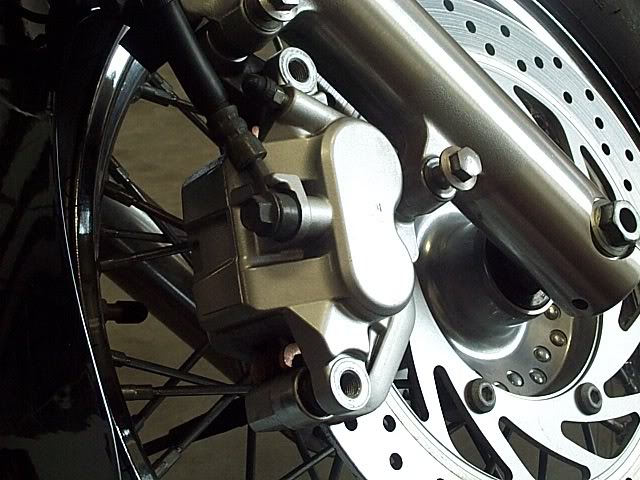 |
Take the two slider (caliper) bolts, clean them, and lube them. Then reinstall them to bolt the caliper back to the mount.
It is very important that you lube the slider bolts and plates! The most common cause of premature pad wear is dry/frozen friction areas.
|
< |
Remove the loose caliper mount bolts, put them back in the reflector (if used) and reinstall the assembly.
|
< |
The last step is to gently cycle the brake lever to push the caliper pistons back out. Depress the lever slowly about half it's travel, over and over until you get a hard lever. Do not pull the lever all the way in.
YOU MUST DO THIS STEP! FAILURE TO DO THIS WILL RESULT IN YOU NOT HAVING BRAKES THE FIRST FEW TIMES YOU TRY TO USE THEM! |
 |
Your brake pad install is now complete. EBC says it takes up to 250 miles of city riding for full brake in of these pads. |
My initial observations on these pads are that even with less than 10 miles, they grip WAY more than the stock pads. However, at this point in time, they are quite noisy. They give off a sound like buzzing bugs in the woods while riding down the road, which gets louder when you apply the brakes. (see update at end of article, ed) This may go away after the break in period. I will report a follow up once I've reached that point. There also may be shortened rotor life in exchange for the greatly improved grip. If you are just looking for a quality stock replacement pad, I suggest the EBC organic pads instead of the Double H. I can get either pads.
|
This product review has been brought to you by Metric Sal's V-star 650 Parts and Accessories. Please contact us at vstar650parts@aol.com if you would like to order this part.
|
** Short term update...
|
The buzzing sound from the Double H pads is obviously from the holes in the rotor passing over the aggressive friction material. Since the pads have worn in now, they don't touch the rotor as much when not on the brakes, so the buzzing has pretty much done away when not on the brakes. It returns only when you apply the brakes over 10 mph, so it's just when you are at speed and the holes pass over the pads. |
The pads have incredible grip, quite impressive. I have not run the EBC organics, so I can't compare to those fairly. Also, no more brake squeak like with stock.
|
|
|