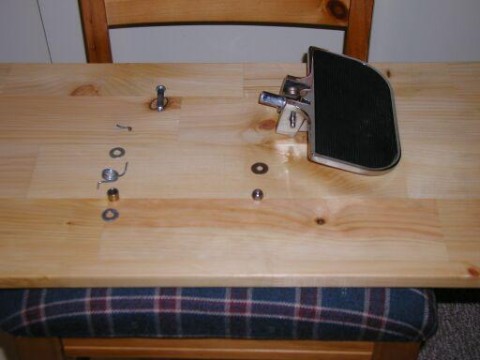
Parts Needed:
This is a layout of the parts needed, the cleaves pin is supplied with the boards, I used some washers to get a tight fit and the spring from the stock pegs, you will also need the spacer from the stock pegs to put inside the spring. |
 |
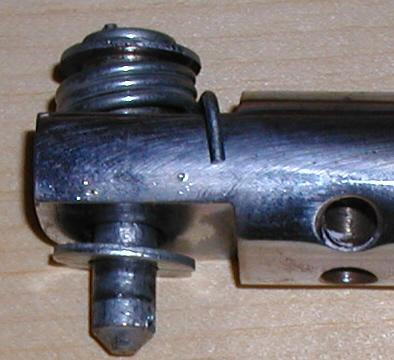
Board and Clevis Pin
This shows the Cleaves pin installed in the board.
|
 |
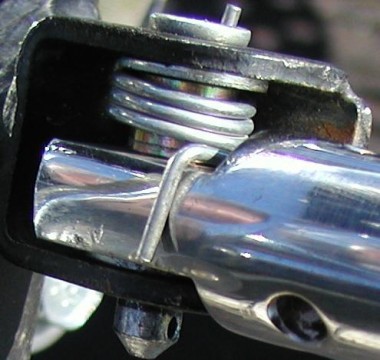
Cleaves Pin and Washer Assembly
This pic shows the way the Cleaves pin and washers and spring will be installed. Please not that for the spring to work one side will have the spring on the top and the other side will have the spring on the bottom, this will offset the boards slightly but I could never noticed and nobody else did either for a year. The spacer is inside the spring. |
 |
Cleaves Pin Installed on Bike
This is a close up of the installed Cleaves pin with spring in place. |
 |
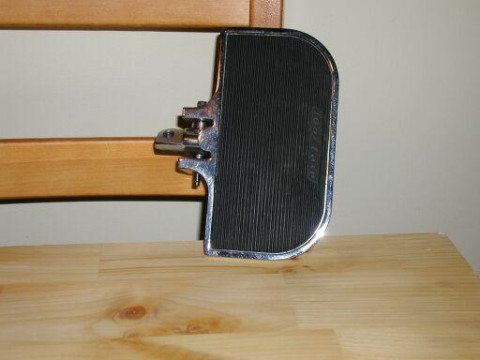
Finished Job
This is a pic of the finished job. Please note that the board will rest on frame, this is what will keep the boards level. I used this install for a year and the angle of the boards adds a lot to ride comfort--- good luck.
|
 |
|