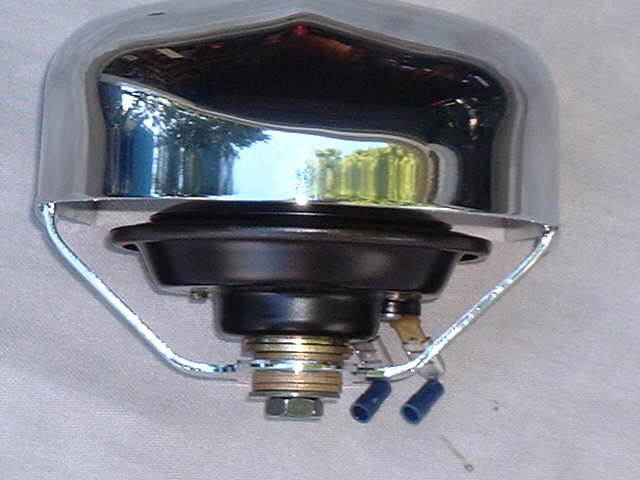
Here is a picture of the parts and a list below
|
 |
The part numbers are Harley. You may find the parts cheap on ebay.
But if not the dealers vary in prices
3588 flange screw $ .70 (2)
69012-93A horn cover $34.50 (1)
69062-91A horn clamp $1.50 (1)
69120-91 horn bracket $11.50 (1)
69123-92 rubber mount $5.50 (1)
7481 acorn nut $1.50 (1)
6109 washer $.35 (1)
8108 speed nut $.85 (2)
50903-85T 1 1/4" clamp $9.95 (1)
In the pic of the horn and the "cow bell". Not all the washers were used. |
 |
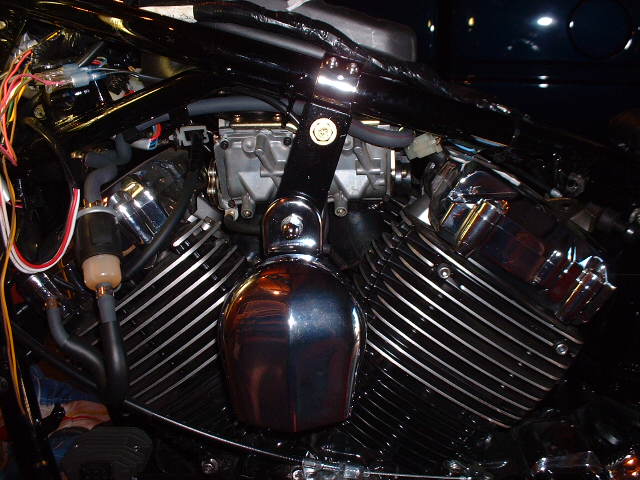
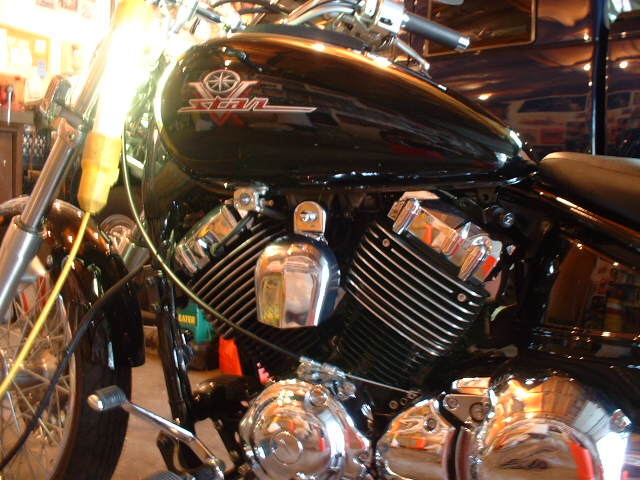
Remove the tank existing horn and plastic frame covers.
Then run the existing horn wire to the new location.
Some wire will need to be added to reach.
Mount the 3 piece clamp to the frame .
The clamp position isn't as critical as it looks, but must clear the underside of the tank.
The black bracket with the holes was home made.
The custom looks better with the horn mounted a little higher than what you would do on a classic.
The home made bracket is roughly 4.5" long, both holes are .75" from the end.
The piece was cut from mild steel 1.5" wide and .25" thick.
One hole is 3/8", the other is 7/16".
These measurements are from a bracket that I didn't use because it was to long
(may be good numbers for a classic).
|