Re-jetting by "MGD" Jeff
Here are basic instructions for rejetting the carbs for a HyperCharger with free flowing pipes. If you're jetting for a different intake and/or exhaust combination, see the Jet Chart on the 650ccnd.com website. I started with the needle replacements on the right side of the bike.
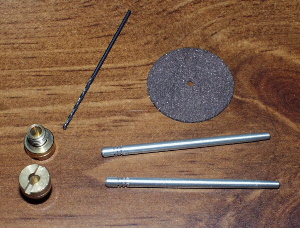
(note) From the factory, the carbs come with brass screws. These are difficult to remove because they are JIS not Phillips. The screwdriver that comes with the bike, in the tool kit, is a JIS. If you do not have access to this, try making the Carb screw tool. This will make it easier to get the screws out.
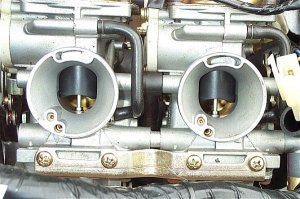 |
This shows a view from the top of the carbs looking down into the venturis. You can see the vacuum slides and needles. The tapered end of the needles fit into the needle jets in the wall of the carbs. |
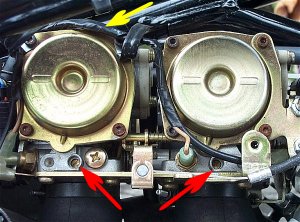 |
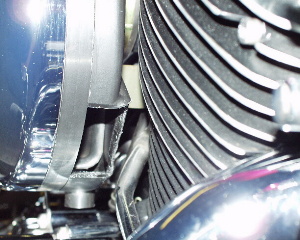
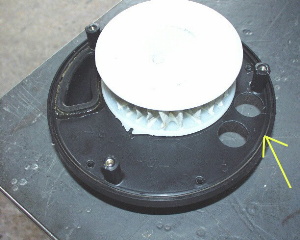
This shows a view of the right side of the carbs with the covers on. The clamp for the choke slide has already been removed and the choke cable is hanging free. |
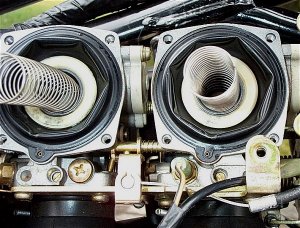 |
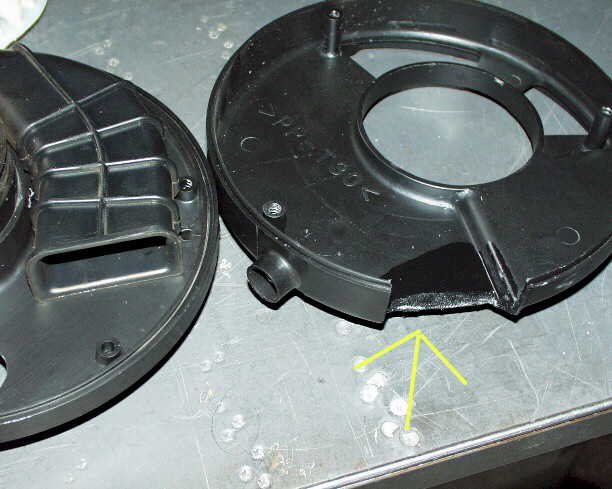
The covers have been removed and the vacuum slide assemblies with the slide springs are exposed. |
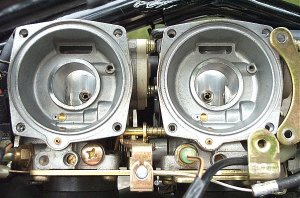 |
The slide assemblies have been removed. The needle jets can be seen protruding from the carb wall on the inside of the venturis. |
Advantages:
|
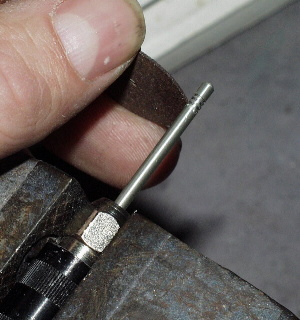
Our needles used the #4 slot of the cobra jet kit and a 1.2mm drill bit to drill out the factory jets to make a 120 jet. (use 125 / 130 jets with a K&N replacement filter) The K&N does make a difference at high speeds (especially above 65 MPH). Cutting a new groove across the top line of the letter "T" inscribed on the stock needles is equivalent to #4 more or less on the Cobra kit . You can shim to make finer adjustments. TonyO at Yamaha Sportscenter in Texas suggest using small washers cut from Coke cans for shims and Dadbenny uses o-rings. My kind of engineering!
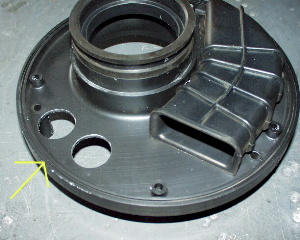
Below and on the next page are pics of the modified air box with the stock filter. Jet and needle settings may change slightly according to the part of the country you ride in but the basics are the same. Also pics of the required parts to modify the stock jets/needles. Just place needle in a dremel tool etc . . . and use a thin dremel tool cutoff wheel to cut two or more additional slots into the needle under the factory slot. Drill out the factory jets with the correct size bit for your application and that's it. Just a bit of fine tuning from there. The standard setting for the mixture screws is 3 1/2 turns out. This seems to work fine with this setup as well .
I have a stock 650 and a RAK'ed one and the difference is significant. Definitely is Equal to the Baron Big Air Kit (on the 650) with 47-51 MPG riding two up with tall windshield and deflectors. (It just doesn't have to have the throttle as wide open to maintain a given speed, hence the better mileage)
Final note :
Leave the factory hole for air in the rear of the air box. It acts as a relief valve for the excessive air being rammed in at high speeds. Plugging this will result in the carbs receiving too much air under pressure at speeds above 65 MPH. Also relieves excessive pressure when riding in Gusting headwinds.
We realize that it will take an actual run at Hot Springs to convince some folks that this Free mod is equivalent to the more pricey modifications but as Fox Mulder would say "Bring it on . . . !!" >Big grin<
 |
 |
 |
 |
 |
 |
![]()