Less than 50 bucks!
I found that this installation is very easy and cheap compared to many other cycle radios. It looks great and can be removed quick and easy by just sliding it off the bracket and stick it in your pocket. Its not weather resistant but either is my bike.
I picked this radio because of price and features. It is loud and very easy to use. It has a clock, channel lock and 25 preset channels. I did buy different earphones only because I needed smaller ones for my style helmet. It is mounted in a location that is easy to get to with either hand.
Items needed:
-SONY SRF-M37V Walkman w/belt clip and earphones $29.00 Target TV /weather/preset channels and loud
-Reflector bracket from right side of forks FREE
-Radio Shack 6' black extension cord for headset $6.00
-male/female adapter for headphone jack $3.00
-2 flat washers nickel size
-small nut and bolt
1-Remove those 2 reflectors from forks, didn't like them anyways.
2-Remove yellow reflector from bracket and save the bracket from the right side fork.
3-The belt clip on the walkman is removable, in the center of the reflector bracket is a small hole. This is where the belt clip is going to be attached. The two ends of the bracket also has holes already drilled. Use them later.
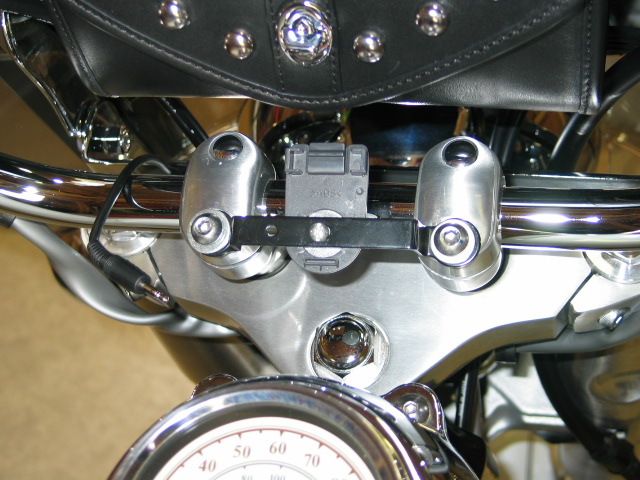
4-Remove belt clip from radio and attach it to the center of the reflector bracket. Use 2 flat washers and bolt to attach it. No drilling required anywhere. The bolt head must be small so that the clip will slide back on the radio when done.
5-Remove the 2 hex bolts from handle bar risers (closest to tank). The reflector bracket's holes lines up perfect with these holes.
6-Attach bracket to raiser and install the 2 hex bolts back into the risers. I added 2 washers here and longer bolts. I only added longer screws cause I had them already. The factory bolts work fine.
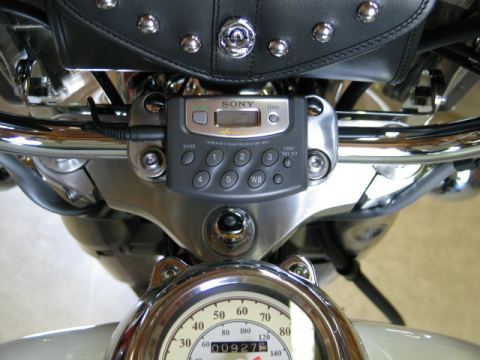
7-Slide Walkman onto mounted bracket which has the belt clip installed. Clips right on easy.
**Step 8-9 can be skipped and just plug headset right into the radio, but the wind flaps the wire all around and hits tank and your face.

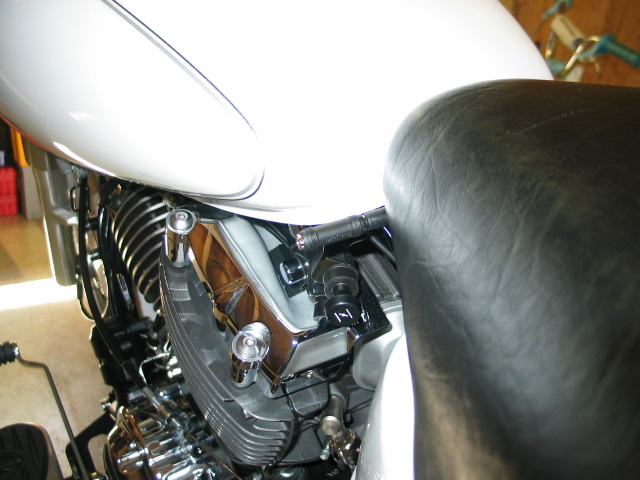
8-The extension wire needs to be tucked under the tank and run back to the front of your seat. I had to remove seat to get it just right. Not needed to do this, but I wanted to flex tie the cable around its route to the seat. I also removed the tank to do this. This also is not necessary I just did it. It works fine without doing any of the tank or seat removal. The wire is just sticking out of the edge of my seat, above the frame.
9-Attach male/female adapter and plug headset in.
10-Put headset on and run headset wire under jacket and plug it into the female adapter which is now right in front of your seat.
Now you got tunes!
|
|
|
|