Alright, first this disclaimer. By no means am I a professional body repairman. I accept no responsibility for anything you may do to your motorcycle. The purpose of this commentary is simply to explain what I did to stretch my motorcycle's gas tank. Therefore, take what you will from my method at your own risk. If you have any questions or comments, please contact me at: boothryan222@yahoo.com.
Note: I purchased a separate fuel tank from eBay, so that I wouldnt have much down time from my bike. I emptied the gas out, then washed the inside with soap and let soak for 30 minutes. It is imperative that there is absolutely no fuel left in the tank. Welding and fuel do not mix!
Estimated Cost $91: I already had most of my own tools, but here is what I had to purchase specifically for this project: Rented Welder (1 Day) $38, 20 Gauge Sheet Metal $10, Spray Primer $6, TOTAL PREP Cleaner $3, DAP All Weather Caulk $4, BONDO $9, Misc Sand paper $20, Sharpie Marker $1.
Tools and Equipment I used:
- 4 ˝Grinder
- (grinding wheel and wire brush)
- Dual-Action (DA) Sander
- Several Styles of Vise Grips
- Hand Metal Shears
- 20 Gauge Cold Roll Sheet Metal
- MIG Welder (rented)
- (Millermatic 135, 115V Wire Fed)
- Spray Primer
- TOTAL PREP Spray Cleaner
- DAP All Weather Caulk
- BONDO (body filler)
- 60, 120, 220, 400 Grit Sand Paper
- Sanding Block
- Sharpie Marker
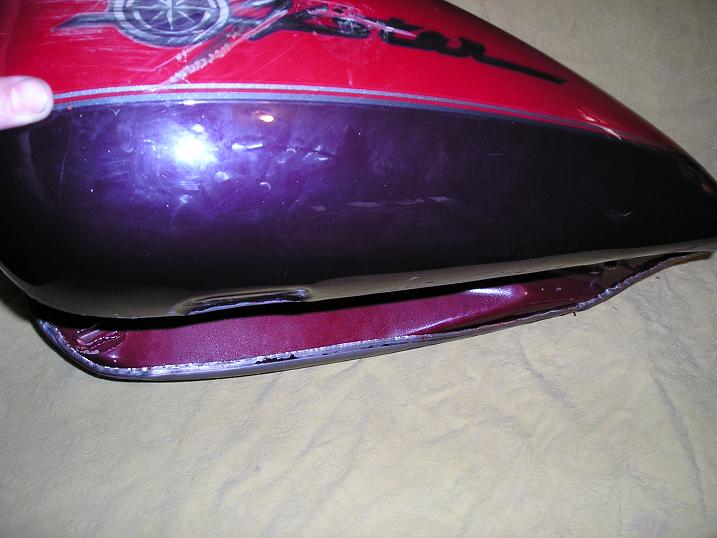
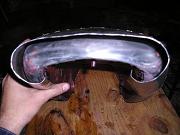
The first thing I wanted to do to the tank was to roll the seams underneath. This was actually much easier than I expected. I simply used a thick pair of pliers and bent the seam inside. I went all the way around the tank with pliers, then I used a hammer to make the final finishes (figure A). When doing this, paint chips cracked off. So, unless you know for certain that you are going to repaint, I wouldn't suggest this procedure. |
 |
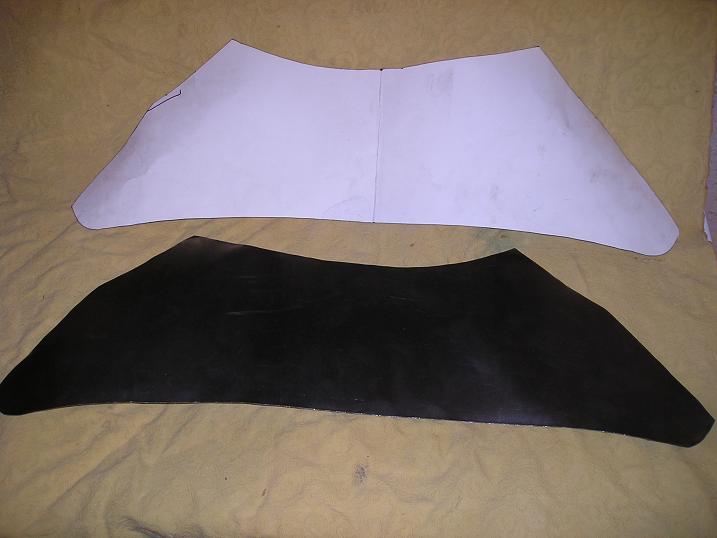
Next I made a rough template for the metal extension out of cardboard. I then traced this pattern onto 20 gauge cold rolled sheet metal and used hand shears to cut the pattern (figure B). By hand, I bent and formed the metal to conform to the tank's shape. I drew a line in the center of the extension and the tank, to make sure they would line up. |
 |
The next step was to strip off the original paint from the gas tank. I stripped the tank to about half way with the grinder and a wire brush attachment. |
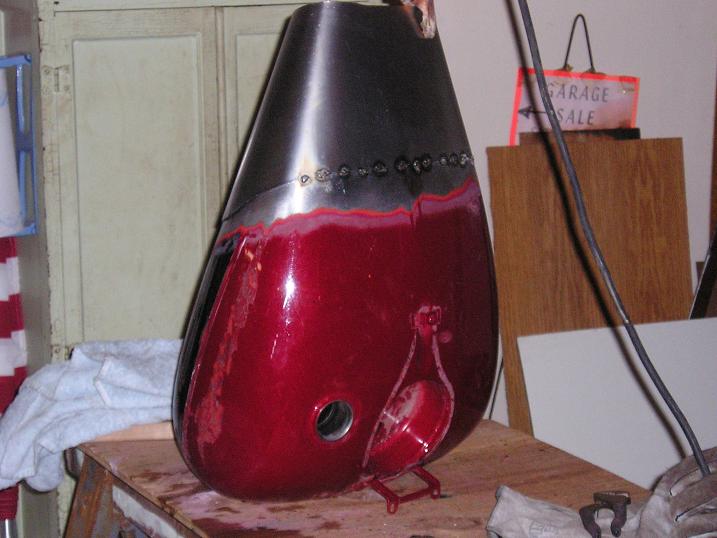 |
I then tack welded the center of the extension to the center of the tank. I was careful not to heat the tank too much. It is very easy to burn through the thin sheet metal, or to warp the tank. It helped to keep a wet towel by to help keep the surface cool. I was also sure to keep the metal extension as close as possible to the tank, so that both heights were as flush as possible. I started tacking to the right side about every 1 to 1 ˝. I stopped just at the tanks side. Then I did the same from the center to the left side. |
 |
Next, I started on the sides. Again I was very careful to keep the metal extension and tank as flush as possible. However, it was more difficult to keep the seam nice and tight on the sides.
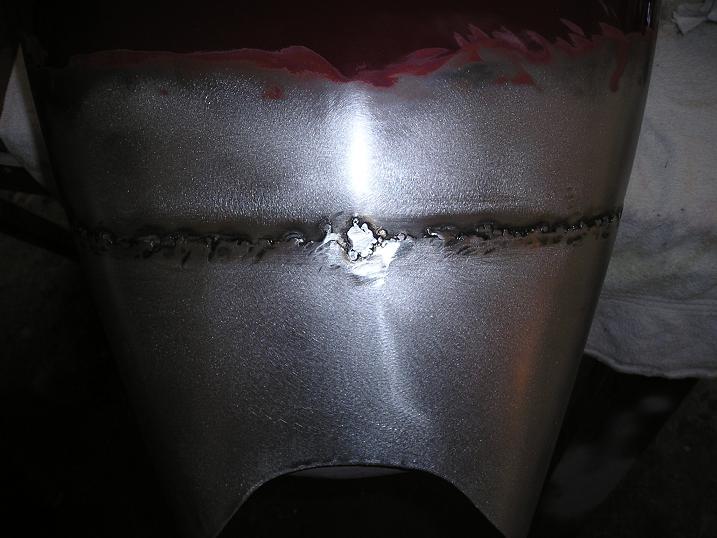
After everything had completely cooled down, I lightly ground down the high points of the welds with the grinder.
I then went back and placed another tack weld between each original weld location. I again ground down the high points of the welds |
 |
I then placed the tank on the motorcycle and drew in a "guesstimated" line for where the seat meets the tank. I only trimmed a little at first. It is easier to trim more later than to cut too much and have to start over. Eventually, the gas tank (with extension) conformed exactly to the seat. |
|
 |
On the under side of the tank, I used the hand shears to trim the extension's edge to flow with the lines of the tank . |
 |
I then used caulk to fill the gap between the metal extension and the tank. The caulk serves two purposes: 1) It helps support the metal extension 2) It will absorb some of the vibrations, preventing the body filler from cracking. I cleaned the area with TOTAL PREP, and was sure to keep the area as clean as possible. Its very easy to make a mess, and caulk is difficult to wipe off wet or dry.. |
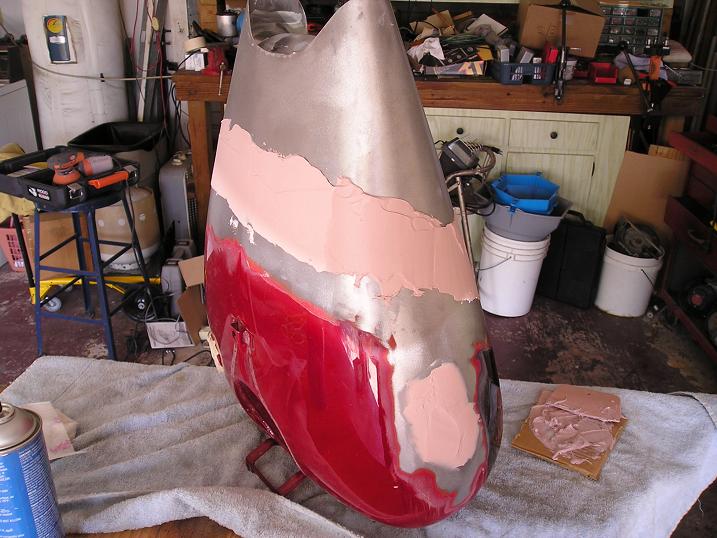 |
I also had a small dent on the side of the tank that I needed to fill with body filler. I used the DA sander with 60 grit paper to scuff up that area, and the welded spots (up to about 6 on both sides of the seam). I cleaned both areas with TOTAL PREP, and prepped for body filler. |
 |
Next, I used BONDO to fill both the seam and the small dent. I was sure to have the surface of the body filler conform to the tank. This made it easier to sand it down |
 |
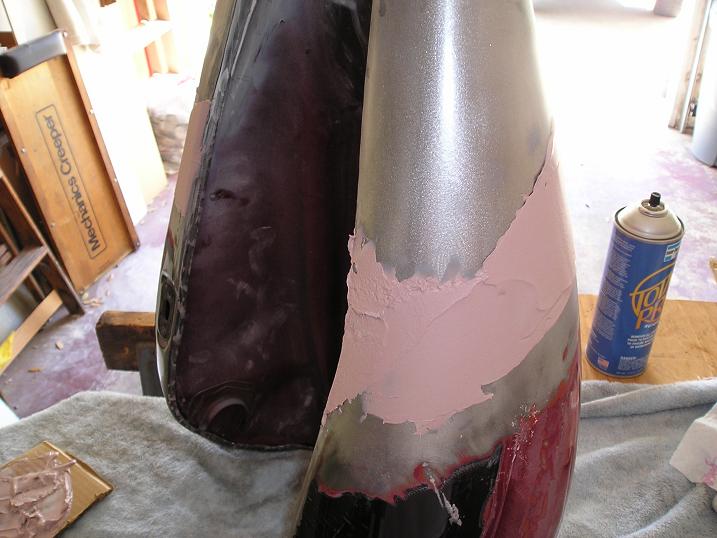
I then used the DA sander with 60 grit to sand down the first layer of BONDO. I again cleaned to surface with TOTAL PREP to prepare for another layer of body filler. I applied another thin layer of BONDO. This time when sanding, I started with 120 wet sand paper and a block. I then finished with 220 to smooth the area out. |
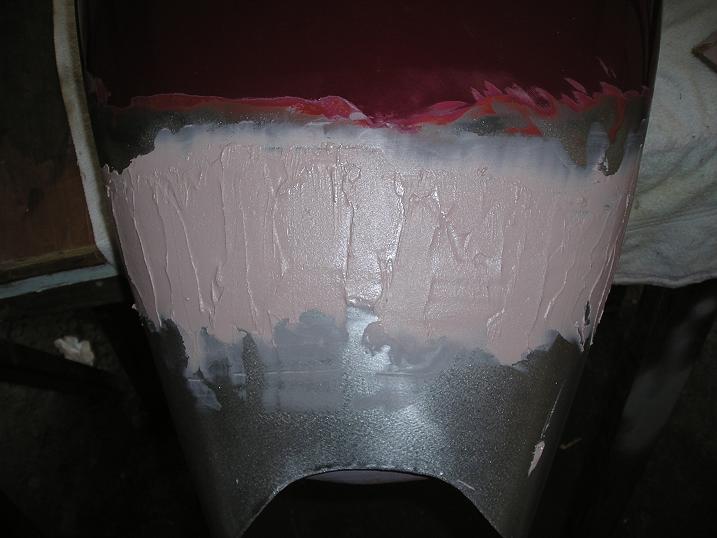 |
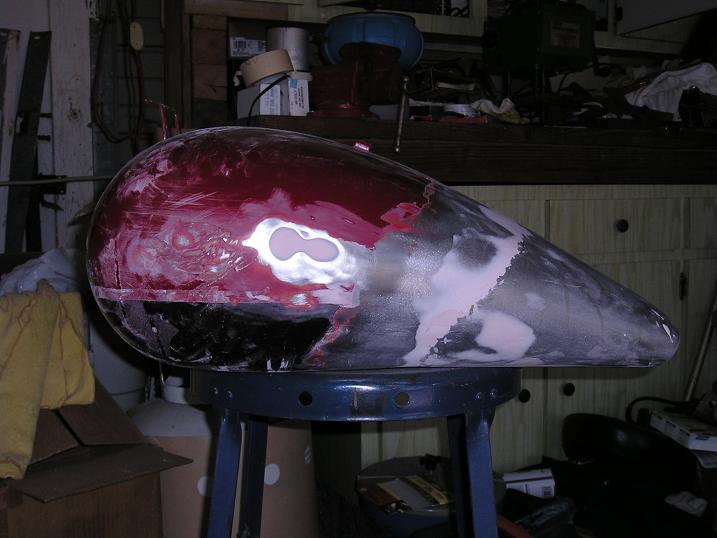
Once the body work is done, I block sanded the whole tank with 400 grit sand paper to get a nice smooth surface that is ready for primer. Since I am going to have it painted professionally, I am just going to leave it primed for now (figure M) . When I am ready to have it painted, I will get the painter to re-apply a better quality primer after they apply a very thin coat of body filler to correct any imperfections that I may have left. |
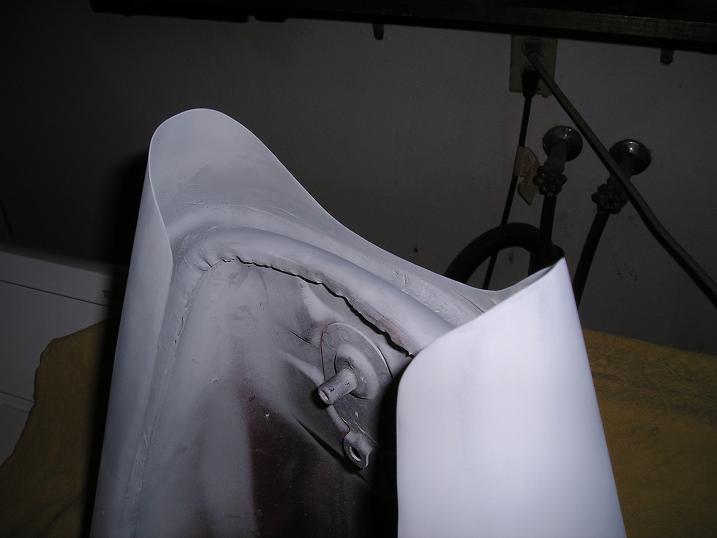 |
Finally, I sealed the inside of the tank with POR15's fuel tank etching and sealant. This last procedure in itself was a long process, but well worth the extra attention to make sure the tank will last. If done properly, it will make sure that the tank will not leak or corrode from the inside.
As you can see in the last two photos, the body work is now complete and the bike looks radically different. I have reinstalled the tank, and I'm very happy with the results. The very last step is to have the tank and fenders painted. I'll be sure to post more pics once everything is done. Ride Safe, Ride On! |
 |
|